What is Ghostty?
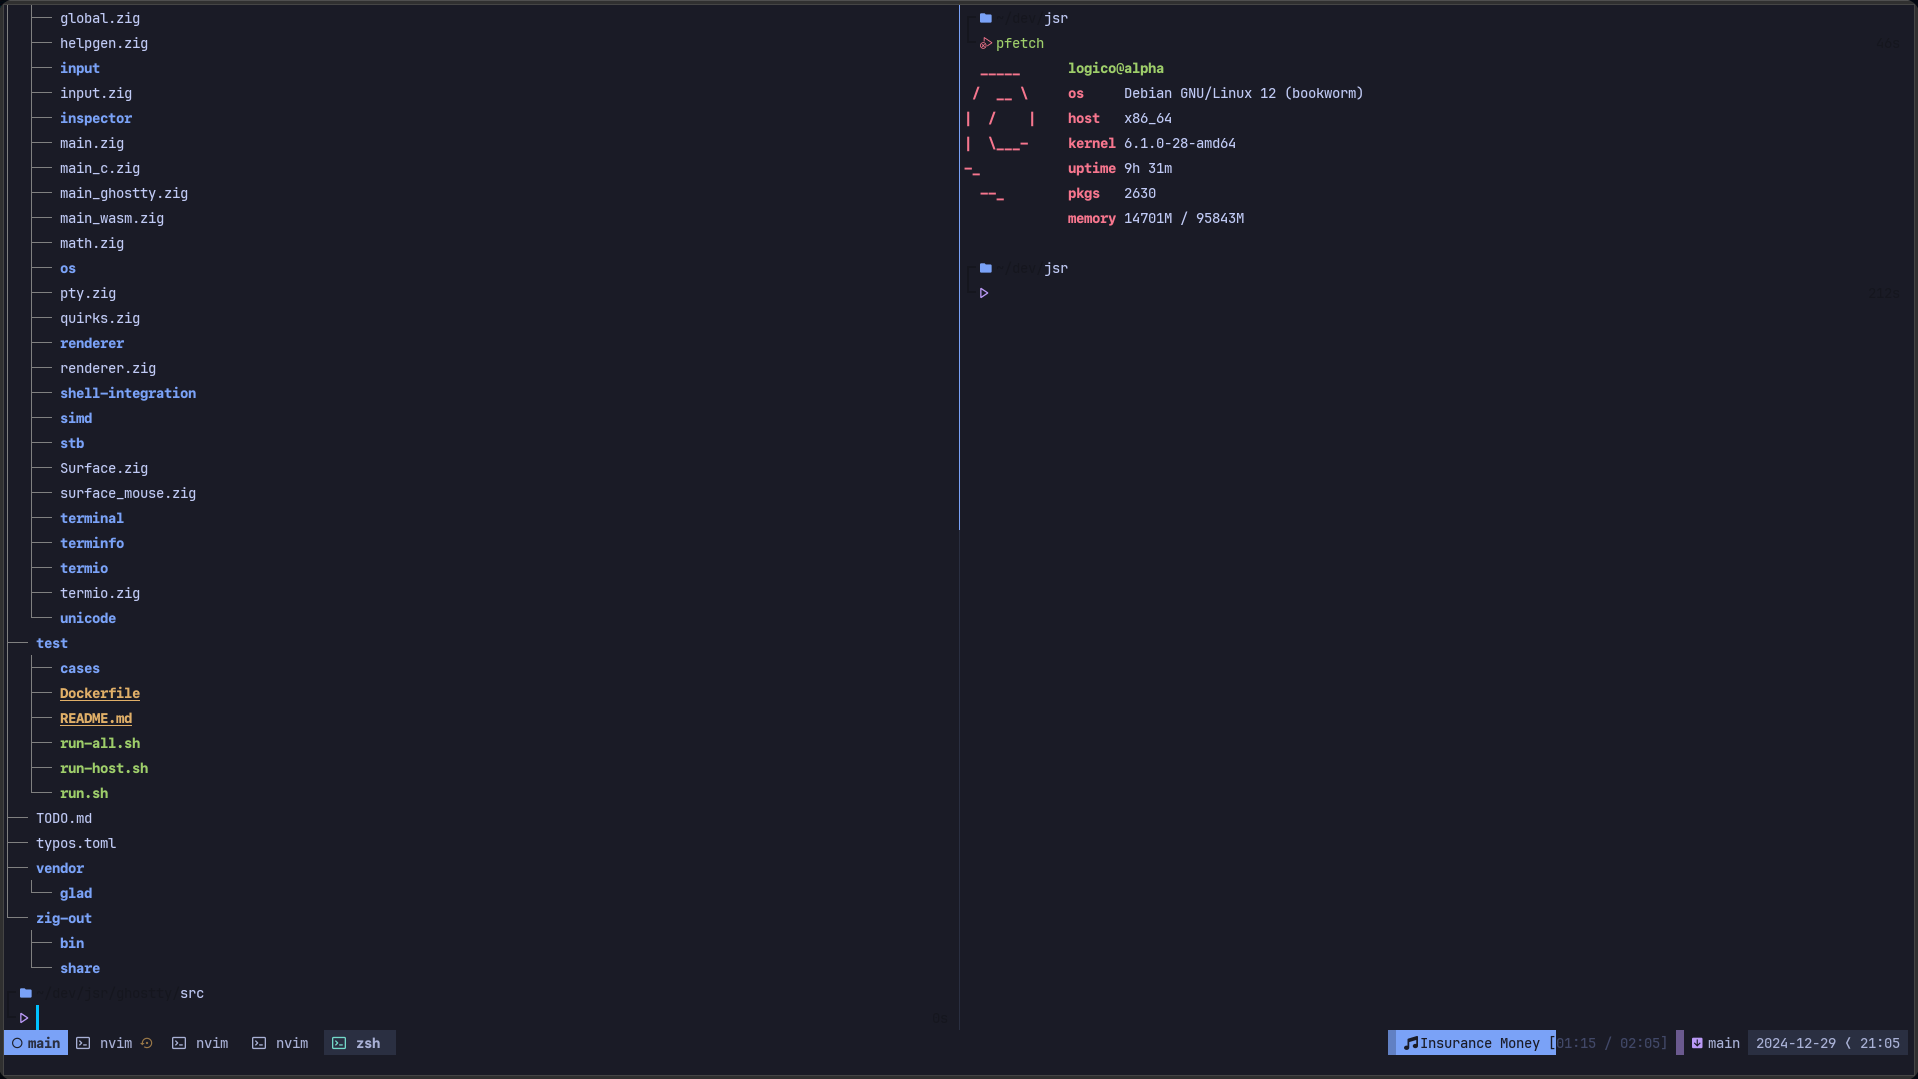
Ghostty is a terminal emulator created by Mitchell Hashimoto (you may know him from HashiCorp) as a personal project. The most important points:
- It’s native: it’s designed to be built natively for each platform, using Swift and AppKit for macOS and Zig with GTK4 for Linux. This lets it integrate naturally with the operating system’s own features, including keyboard shortcuts, UI and OS-specific characteristics.
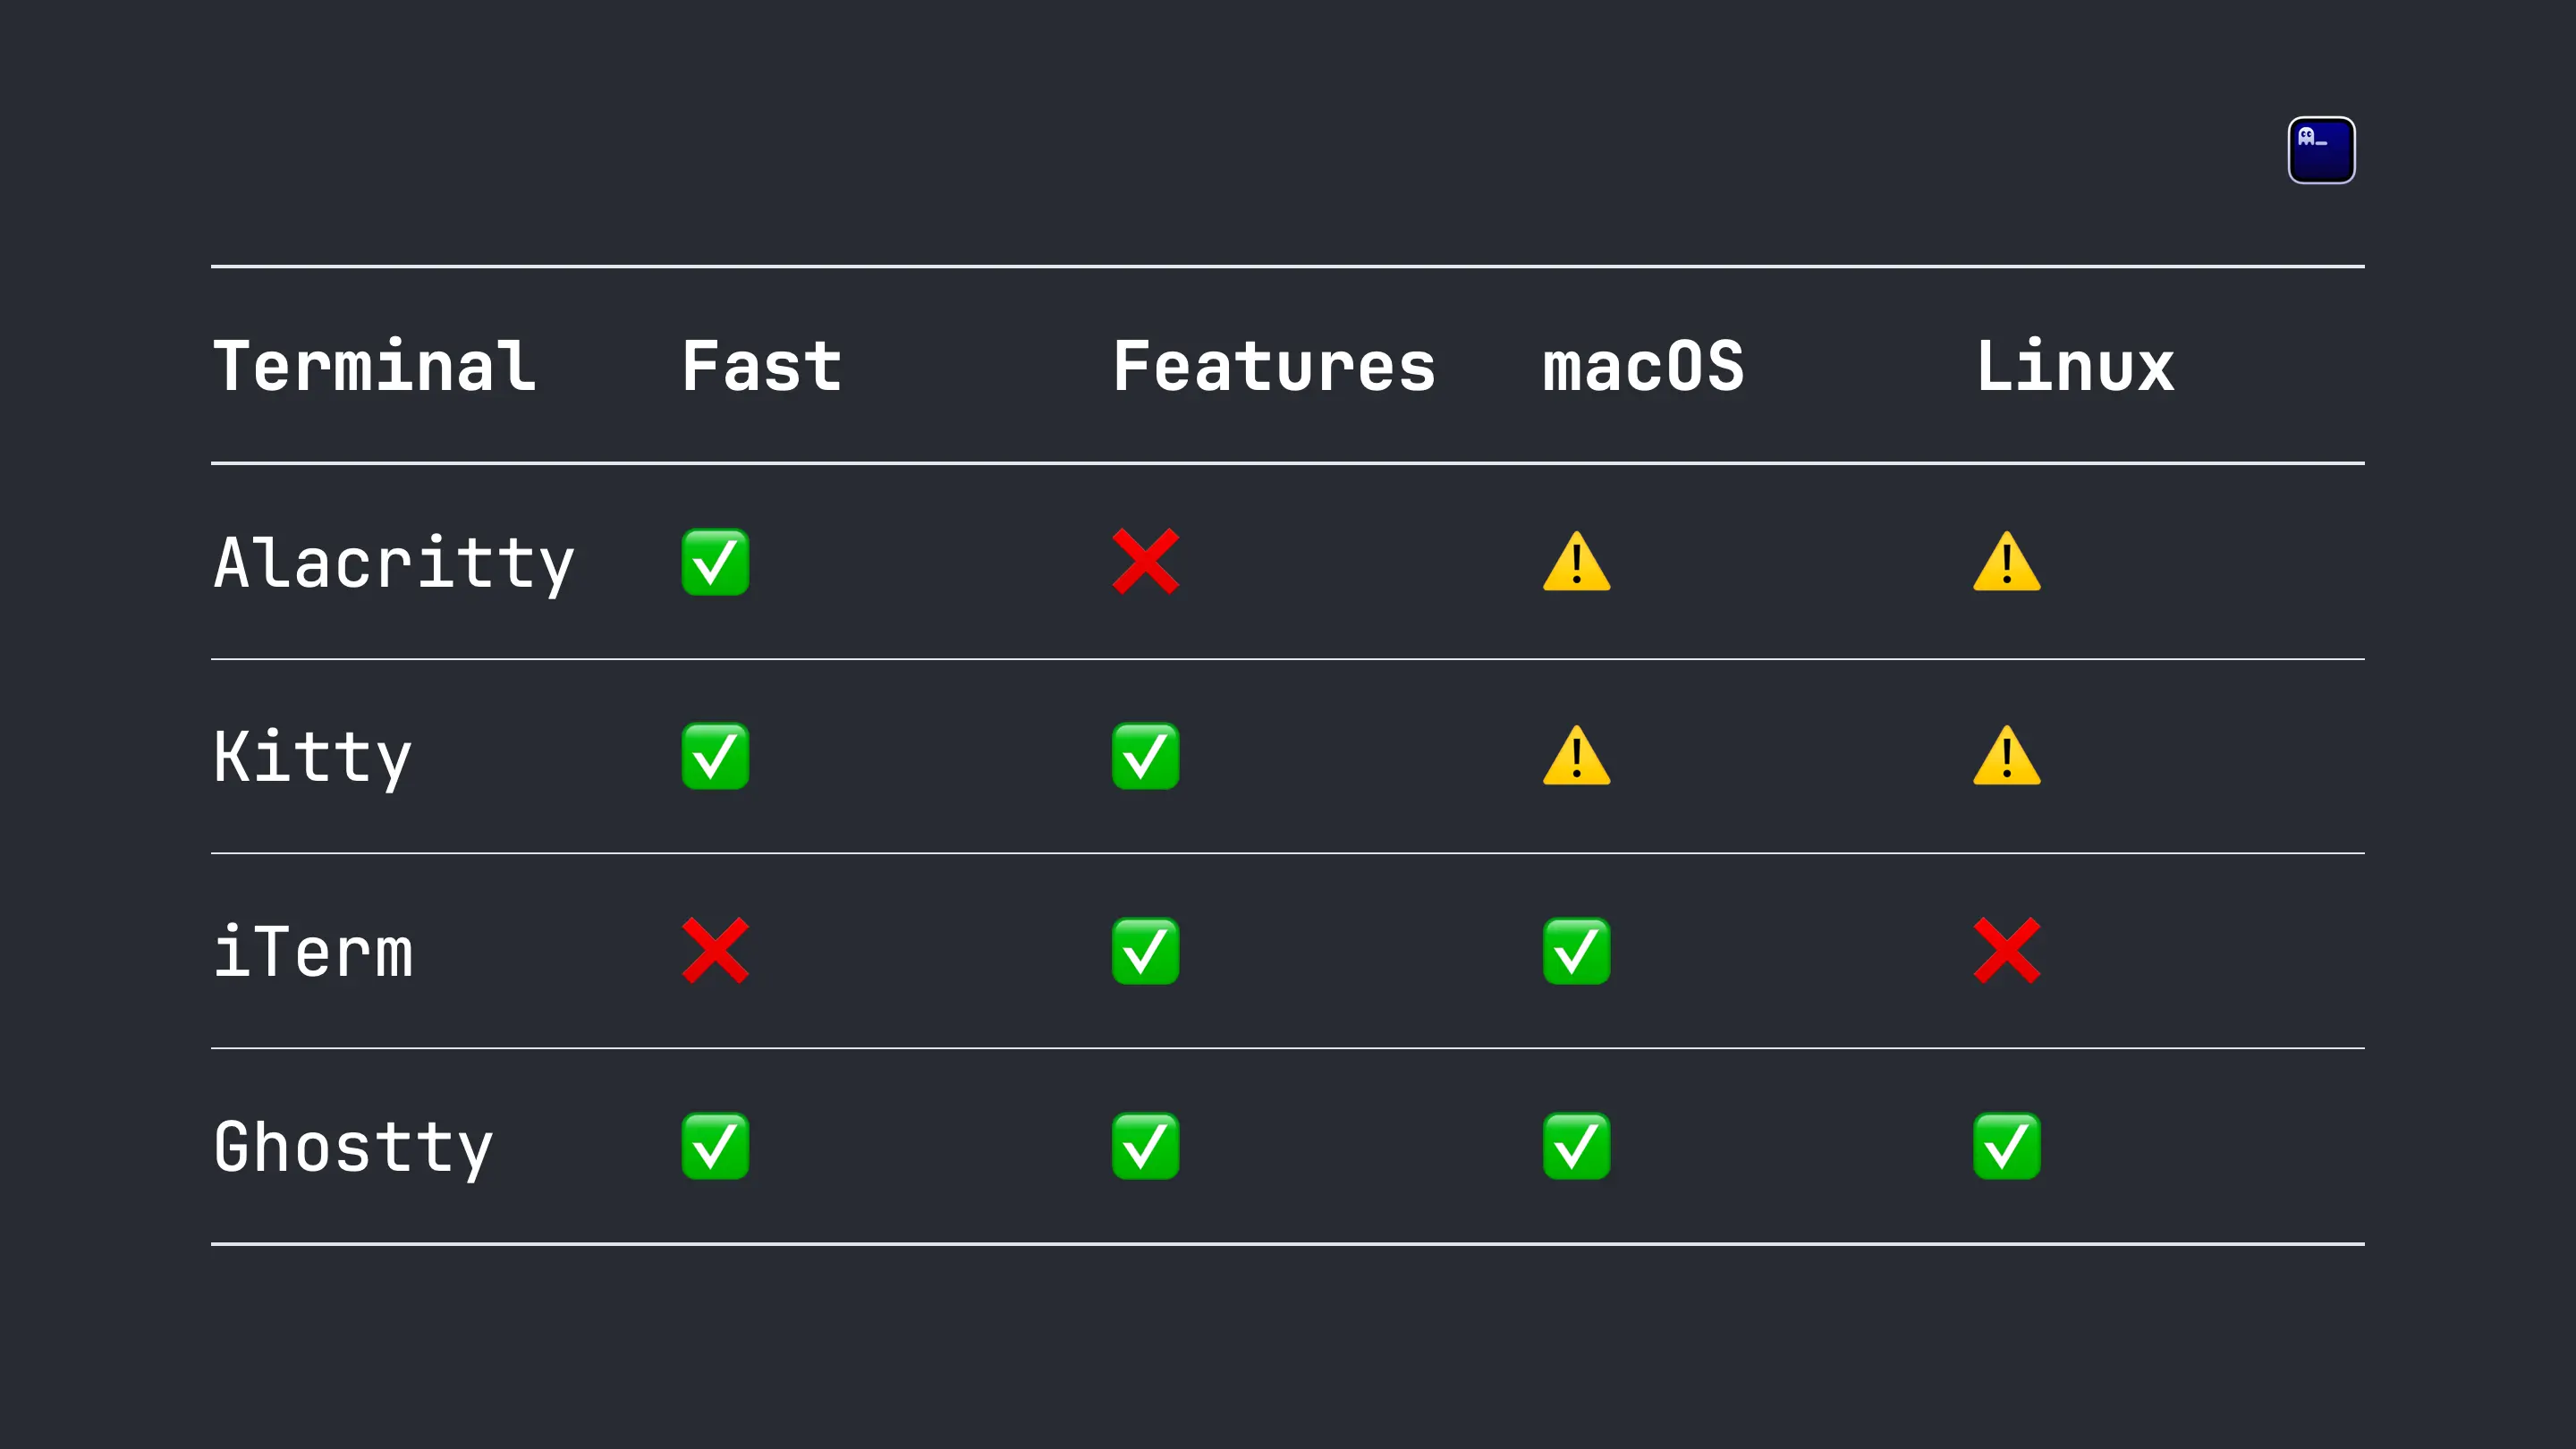
- Features: it offers features both at the terminal level (like the Kitty graphics protocol, notifications, hyperlinks, etc.) and at the application level: native tabs, split screen and a Quake-style drop-down terminal, etc.
- Fast: it aims to be on par with ultra-fast terminals like Alacritty; to pull that off it relies on GPU rendering and the Zig programming language.
Prerequisites
Since Ghostty is written in Zig, you absolutely need its compiler
installed on your machine. The official site recommends using Nix as the
official development/build environment, but honestly, installing Zig is very
easy, and besides, once it’s there it stays available in case we feel like
tinkering with the language later on.
Zig 0.13
You must use exactly version 0.13 of Zig, otherwise the build will fail. I tried the newest version and it failed…
You can use this link to go to the Zig 0.13 download page, or run this command:
curl -O 'https://ziglang.org/builds/zig-linux-x86_64-0.14.0-dev.2571+01081cc8e.tar.xz'
Once downloaded, extract the tar file and put the binary in a
directory that is in your system’s $PATH. In my particular case,
I have ~/.local/bin/ in my $PATH, so I’ll use that directory. If you
want it available to all users, you can make the symbolic link
point to /usr/bin/.
As for the directory where I move the binary: I keep a source code repository inspired by the FreeBSD src tree where I have scripts to maintain and build software from source. That’s a topic for another post, but it’s worth mentioning to clear up any doubts. In your case, you can move the directories wherever you like.
# Extract files
tar -xvf zig-linux-x86_64-0.14.0-dev.2569+30169d1d2.tar.xz

# [Optional] Move the extracted files
mv zig-linux-x86_64-0.14.0-dev.2569+30169d1d2.tar.xz ~/jsr/zig/src

# Make a symbolic link of the binary
ln -s "$HOME/jsr/zig/src/zig" ~/.local/bin/zig
Symbolic links
In this guide I use symbolic links a lot because we get the
advantage that, once everything is installed, updating Ghostty is just a
pull of the repository and a rebuild, and everything
gets updated at the same time.
There aren’t really many more requirements to install. If you’re using another distro, you can check the additional requirements on the official page. For Debian, simply running the following command is enough.
sudo apt install libgtk-4-dev libadwaita-1-dev git
Now all that’s left is downloading the repo:
git clone https://github.com/ghostty-org/ghostty.git
Building
At this point, compiling Ghostty should be pretty straightforward. Just move into the source directory and build
# Move into the directory with the source
cd ghostty

# Build
zig build -Doptimize=ReleaseFast
Depending on your machine’s specs (CPU, RAM, etc.), it can take a few seconds or several
minutes. Once the process is finished, you’ll find the binaries in the
zig-out/bin/ghostty directory. It’s also worth knowing there’s a directory
called dist that will be important in the next step. For now, the
structure looks like this:
ghostty
├── dist
│  ├── linux
│  ├── macos
│  └── windows
…
└── zig-out
   ├── bin
   └── share
Installation
If everything worked correctly, all that’s left is the installation: linking
the binary to a directory inside your system’s $PATH and moving the
dist/linux/*.desktop files so you can see the icons and it shows up in your
distro’s launcher.
# Install Ghostty
ln -s "$HOME/jsr/ghostty/src/zig-out/bin/ghostty" ~/.local/bin

# Install the desktop files
ln -s "$HOME/jsr/ghostty/src/dist/linux/ghostty.desktop" ~/.local/share/applications
ln -s "$HOME/jsr/ghostty/src/dist/linux/ghostty_dolphin.desktop" ~/.local/share/applications
Finally, to configure the terminal you need to create the configuration file, and it’s as simple as running the following
# Create the directory if it doesn't exist
mkdir -p ~/.config/ghostty/

# Create the configuration file if it doesn't exist
touch ~/.config/ghostty/config
Once that’s done, configure Ghostty to your liking. Here’s the documentation with all the available options.
Demo and configuration
I’ll leave a few videos so you can see what this new terminal is about and how to configure it. And that’s all — happy hacking!
My configuration
font-family = JetBrainsMono NF Medium
font-family-italic = JetBrainsMono NF Medium Italic
font-family-bold = JetBrainsMono NF Bold
font-family-bold-italic = JetBrainsMono NF Bold Italic
font-size = 10.2
theme = tokyonight
adjust-cell-height = 6
window-padding-x = 0
window-padding-y = 0
window-decoration = false
adjust-cursor-thickness = 2
adjust-cursor-height = 6
cursor-color = #00C2FF